DIY Pi-KVM Raspberry Pi 4
If you ever had to troubleshoot someone’s PC remotely, or wanted to manage one of your PC’s, servers remotely over VPN, but didn’t want to spend too much many on it, then I have the solution for you!
Pi-KVM helps to manage servers or workstations remotely, regardless of the health of the operating system or whether one is installed. You can fix any problem, configure the BIOS, and even reinstall the OS using the virtual CD-ROM or Flash Drive.
On top of that, it’s cheap, and you can even build your own PI-KVM from (you gusted it right) Raspberry Pi!
Features
- Supported Raspberry Pi 2, 3, 4 and Zero2W;
- FullHD video using advanced HDMI-to-CSI bridge or USB dongle;
- Extra low video latency with MJPEG or H.264 / WebRTC (for CSI bridge);
- Bootable Virtual CD-ROM and Flash Drive;
- USB Keyboard and mouse (with leds and the wheel), PS/2 keyboard, * Bluetooth HID;
- Control the server power using ATX functions;
- Access via Web UI or VNC;
- Ability to use “IPMI BMC, IPMI SoL, Redfish” and Wake-on-LAN to control the server;
- The ready-made OS with read-only filesystem;
- Extensible authorization and HTTPS out of the box;
- Health monitoring of the Pi;
- Control GPIO ports and USB relays;
- Relatively cheap
- 100% Open Source!
https://github.com/pikvm/pikvm#diy-getting-started
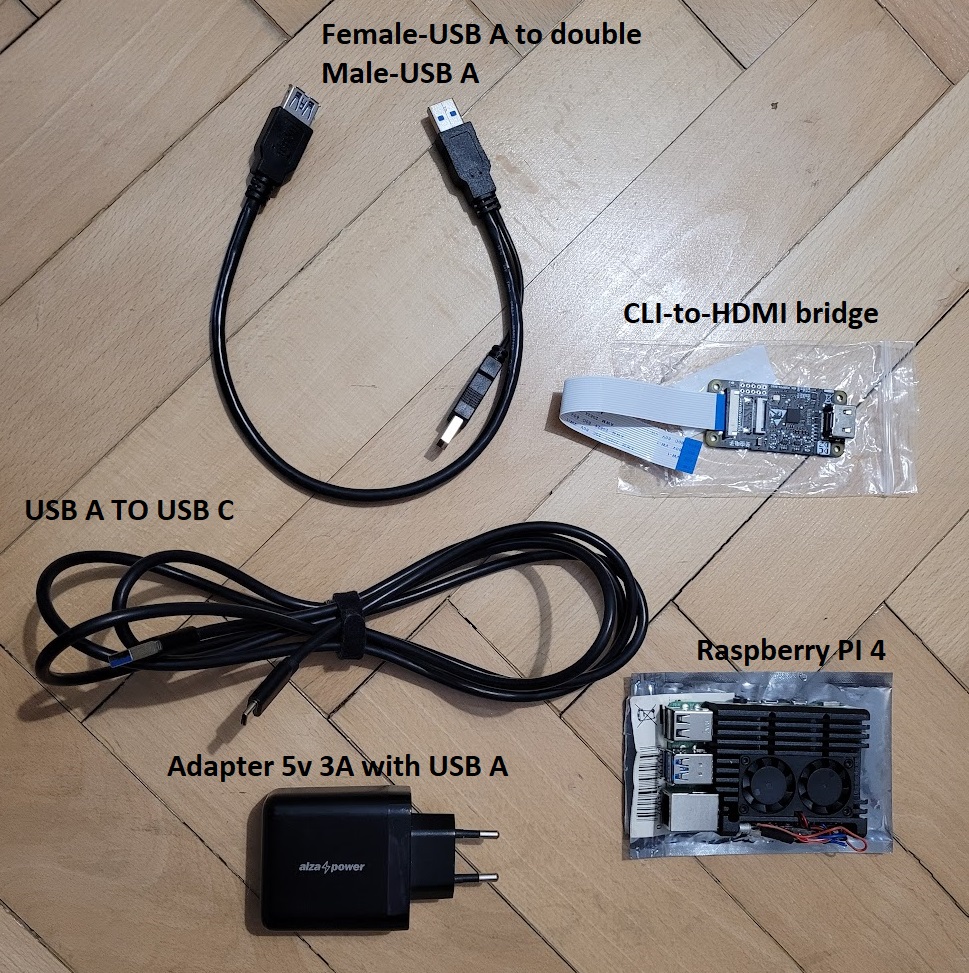
Requirements
- Raspberry Pi 4 / Zero
- 16 + GB microSD Card.
- HDMI-to-CSI bridge (example) (for my Slovak friends)
- USB female to dual male Type-A splitter (example) (for my Slovak friends)
- USB C to Type-A cable (example)
- 5V, 3 amp power supply with USB Type-A output (not the official Raspberry Pi power supply, as it doesn’t has Type-A output). Phone charger should do as long as it supports fast/quick charge.
Instructions
Software part
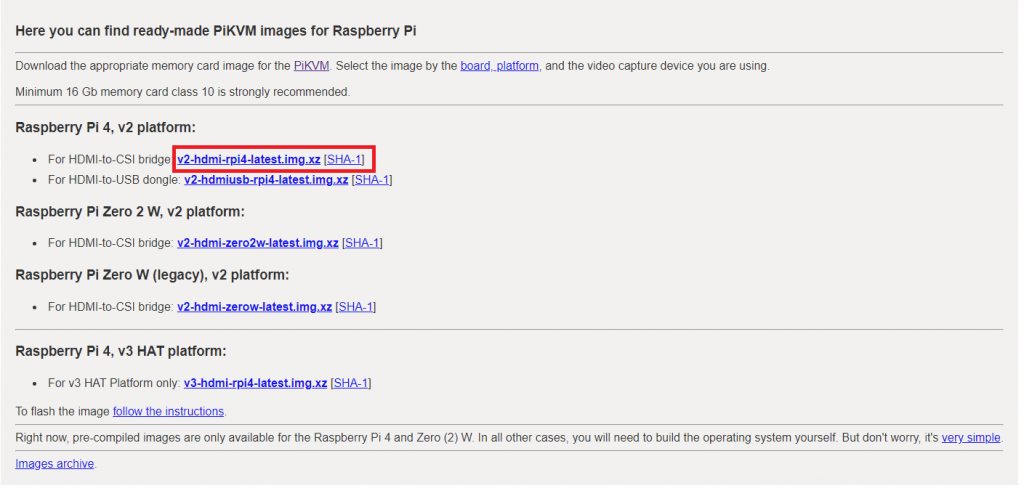
- Download the Pi-KVM disk image.
The first thing we will need is to download the ready made image from pikvm.org.
Be sure to download the right one, as there are many types depending on your Raspberry Pi type and if you are using cli-bridge or USB dongle.
I’m going with the Raspberry Pi 4, v2 (For HDMI-to-CSI bridge) version
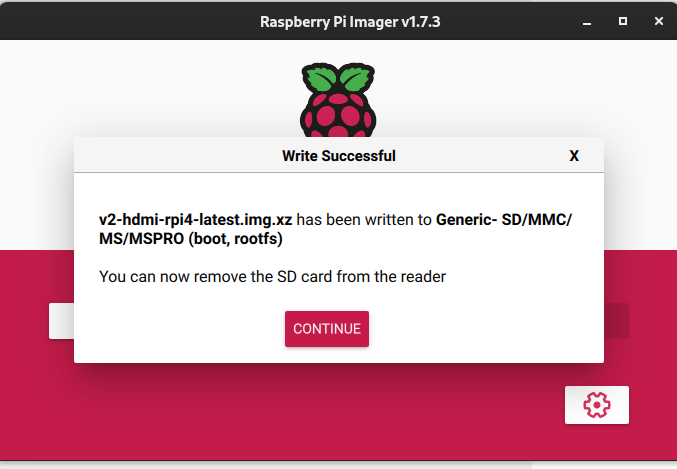
“Launch Raspberry Pi Imager”. You can download it from the Raspberry Pi Foundation’s website
Select “Choose OS” -> “Use Custom” and locate the Pi-KVM image. After that pick your microSD card by clicking Choose SD Card.
Click Write and wait a couple of minutes.
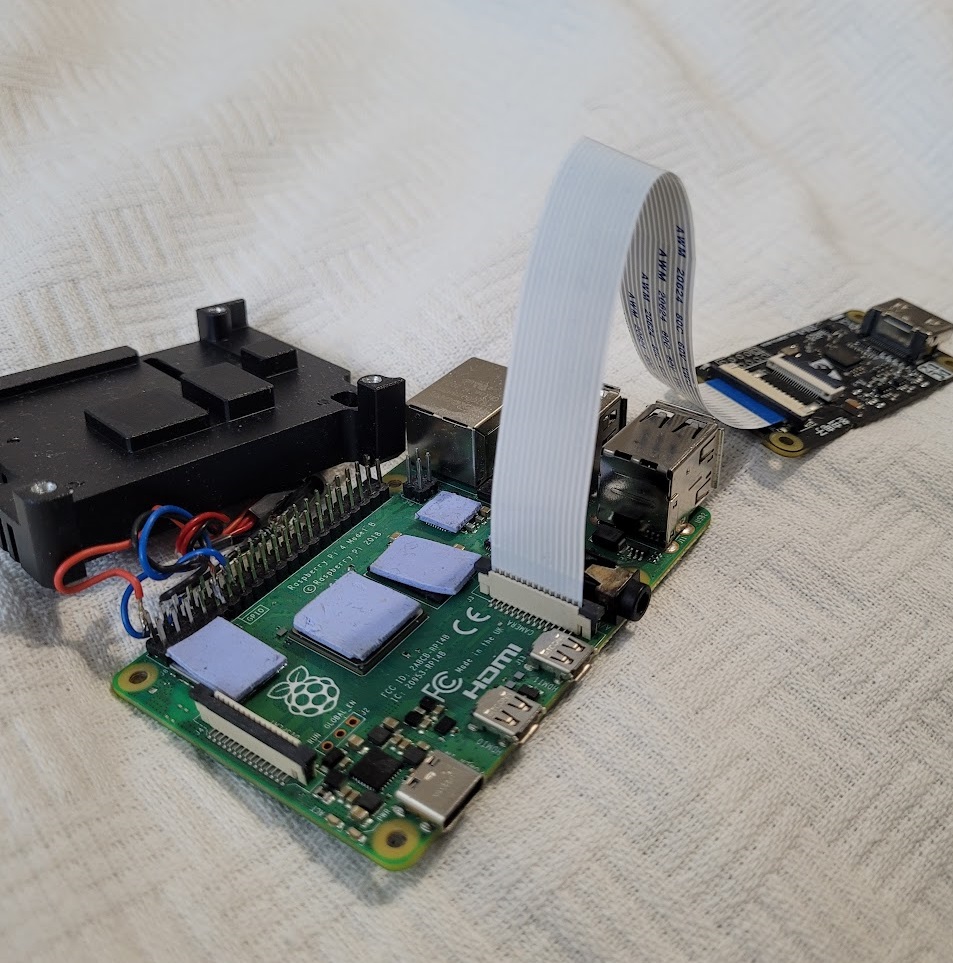
Hardware part
Let’s start with connecting the CLI-to-HDMI bridge to Raspberry Pi. For that, you will need ribbon cable and connect the ports between CLI-to-HDMI bridge and Raspberry Pi camera port. Don’t mind all the cables and heat sings, that’s from a different project for automatic fan cooling.
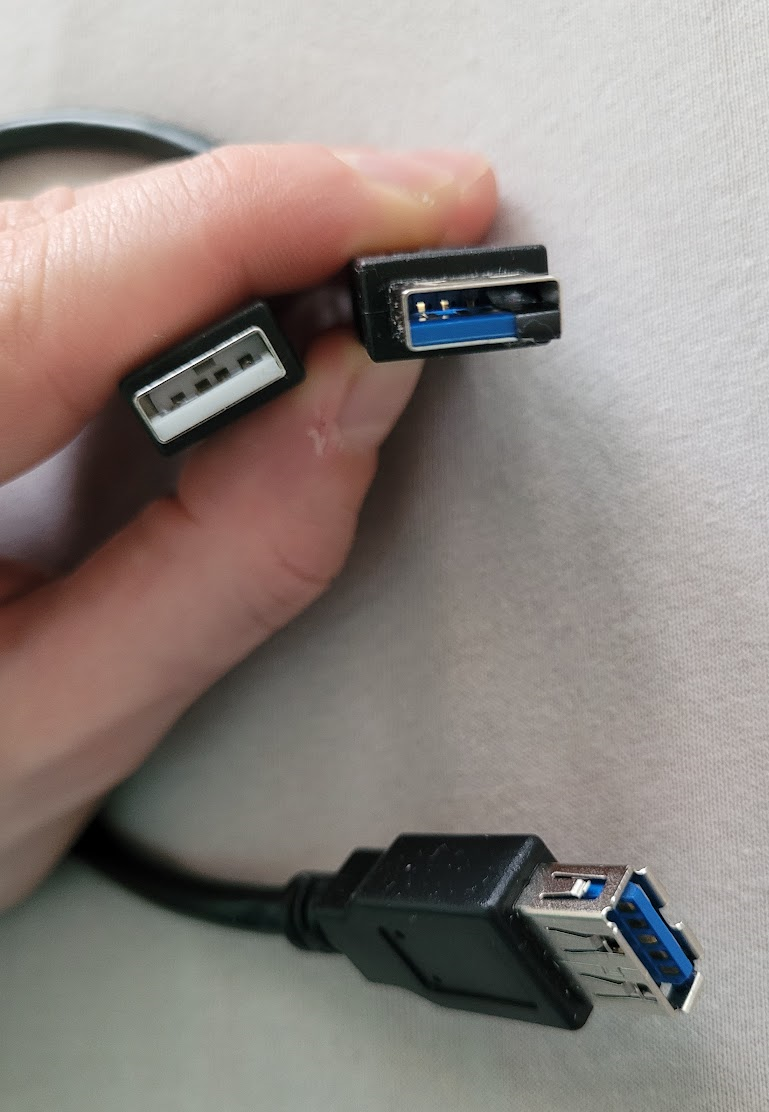
- Now we need to disable the 5V pin on one of the USB A male connector from the splitter cable. We need to do this because it could feed back the power from your wall power to the PC, possibly causing damage to it USB port and motherboard.
Probably the easiest and non-destructive/reversible option is the place small piece of electrical tape over the +5V b(the most right one)
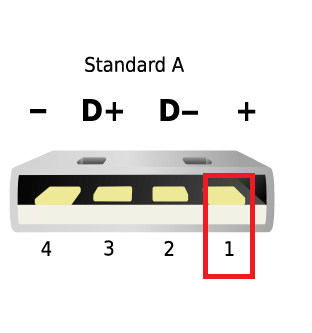
Note that it may be important which one from the two male USB connectors to tape. In my case it was the blue one.
- Now insert the SD card into the PI and connect everything all together.
The red underlined ports goes to the PC we want to control and rest is for PI.
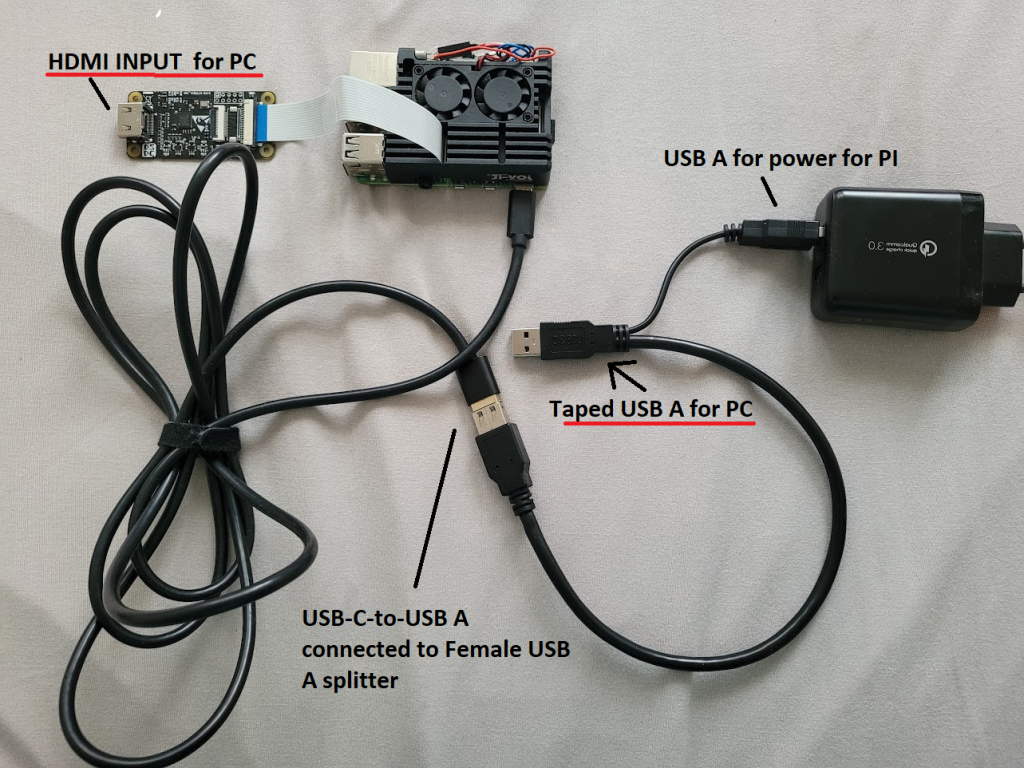
- When all of this is done, connect an Ethernet cable to your PI, so you can connect to it and plug the adapter into the power outlet to power it on. (The first boot take a couple of minutes, after that is much less)
Setting Up the Pi-KVM Software
Find the IP address which was assigned from your router. For Linux
1
2
3
4
#for Linux
sudo arp-scan --localnet
#for windows
arp -a
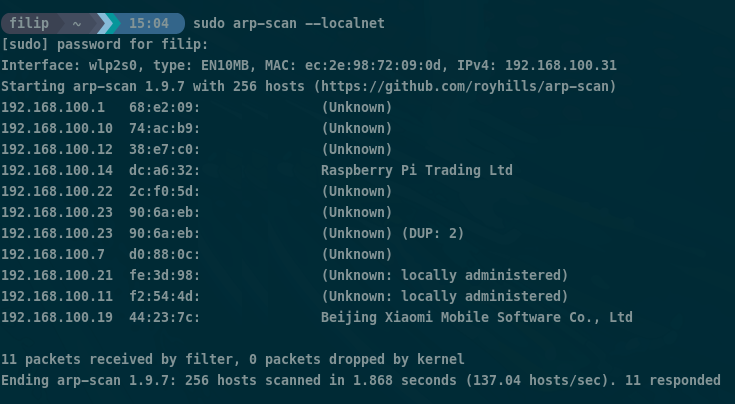
Look for anything that starts with “B827, DCA6, E45F”. Those MAC address are for Raspberry Pi’s. Or in my case, the arp-scan command even type it out for you which one it is.
As you can see mine is
1
192.168.100.14 dc:a6:32:.. Raspberry Pi Trading Ltd
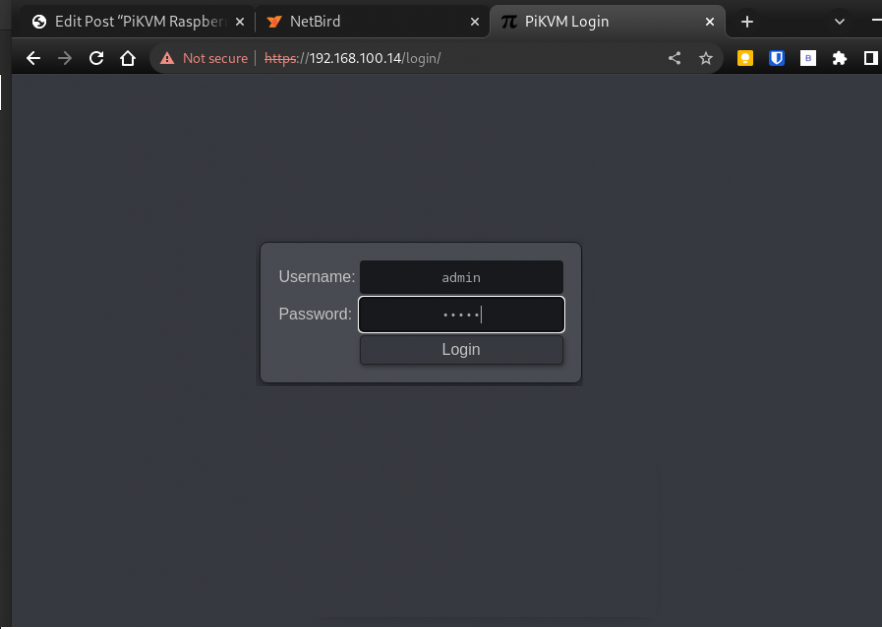
- Type pi-KVM IP address into your browser and log in.
The default username and password is “admin” for both.
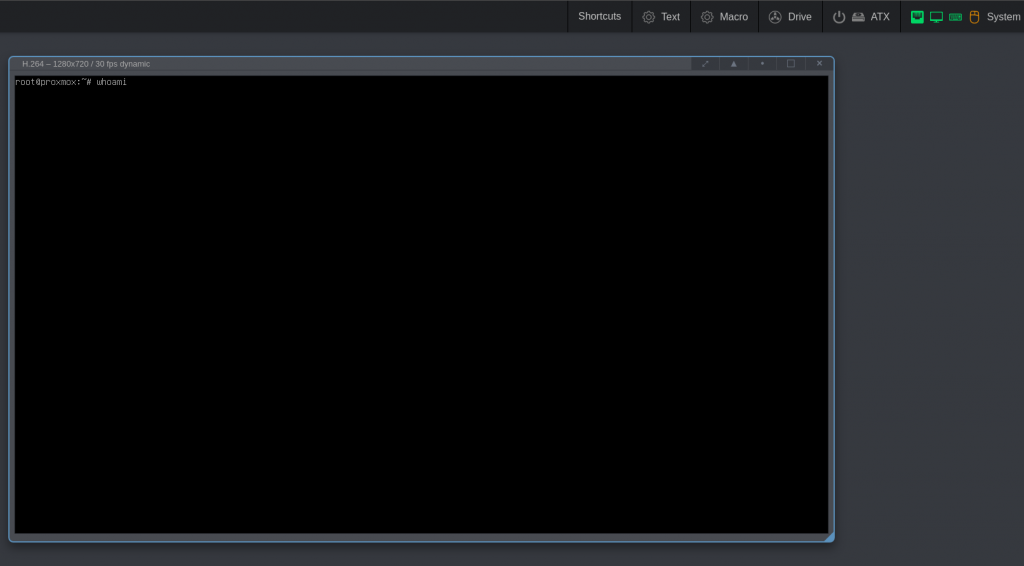
- Connect HDMI and USB A to PC you want to control and click on KVM icon in the browser.
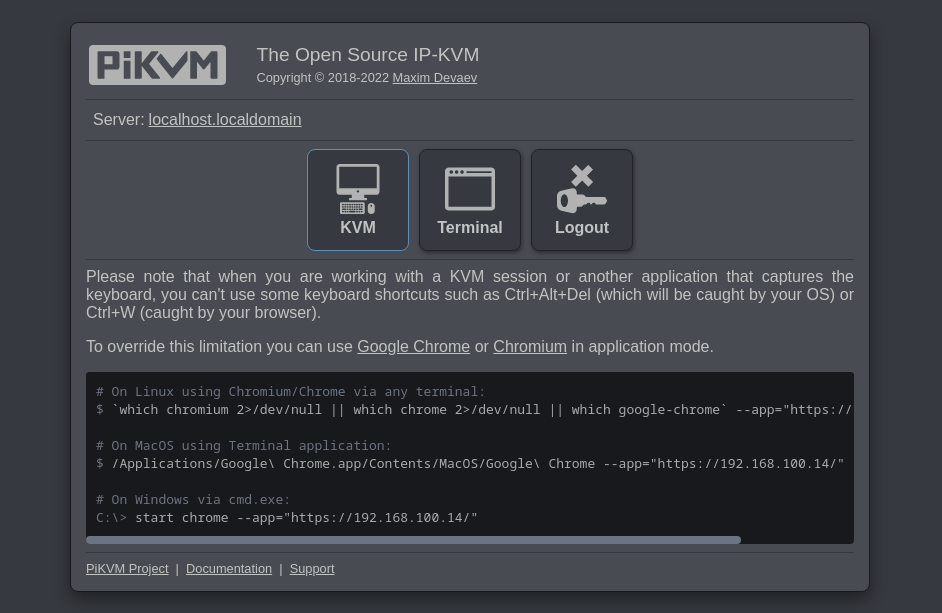
You should see screen output of your device (mind mine is only CLI), if that’s not the case, take HDMI cable out and put it again.
Note that you can see all of the functional parts of pi-KVM in top right corner. Green means the peripheral is connected and working.
Change pi-KVM password
The first thing should be changing the root/admin password, as we don’t want anyone else connecting to our device.
To change passwords, you will need to use the terminal access via SSH or Web
1
2
3
4
rw
passwd root
kvmd-htpasswd set admin
ro
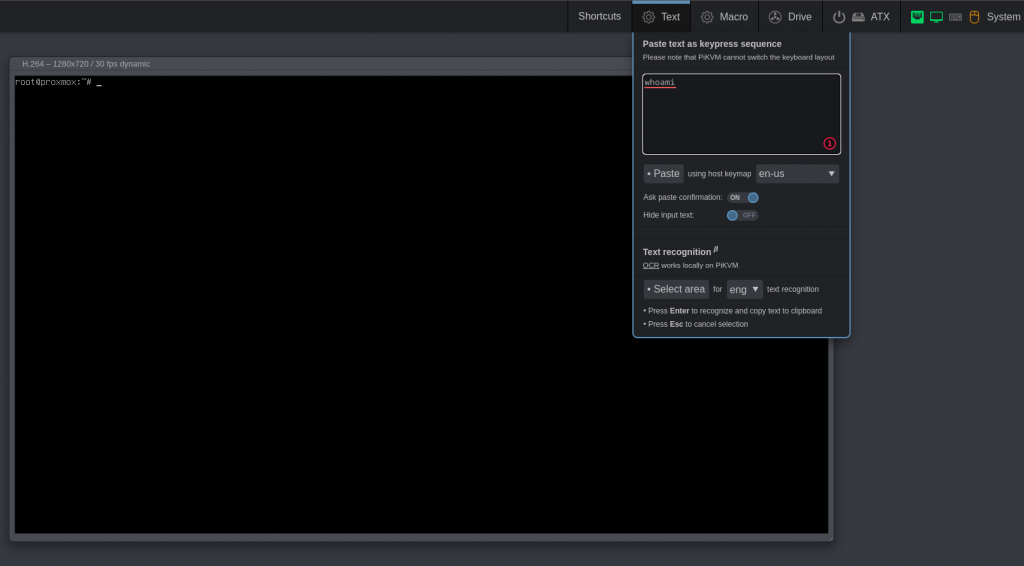
Bulk copy / paste
One of my favorite features is copy paste bulk text. This the most USEFUL FEATURE EVER and all the VNC user’s can relate.
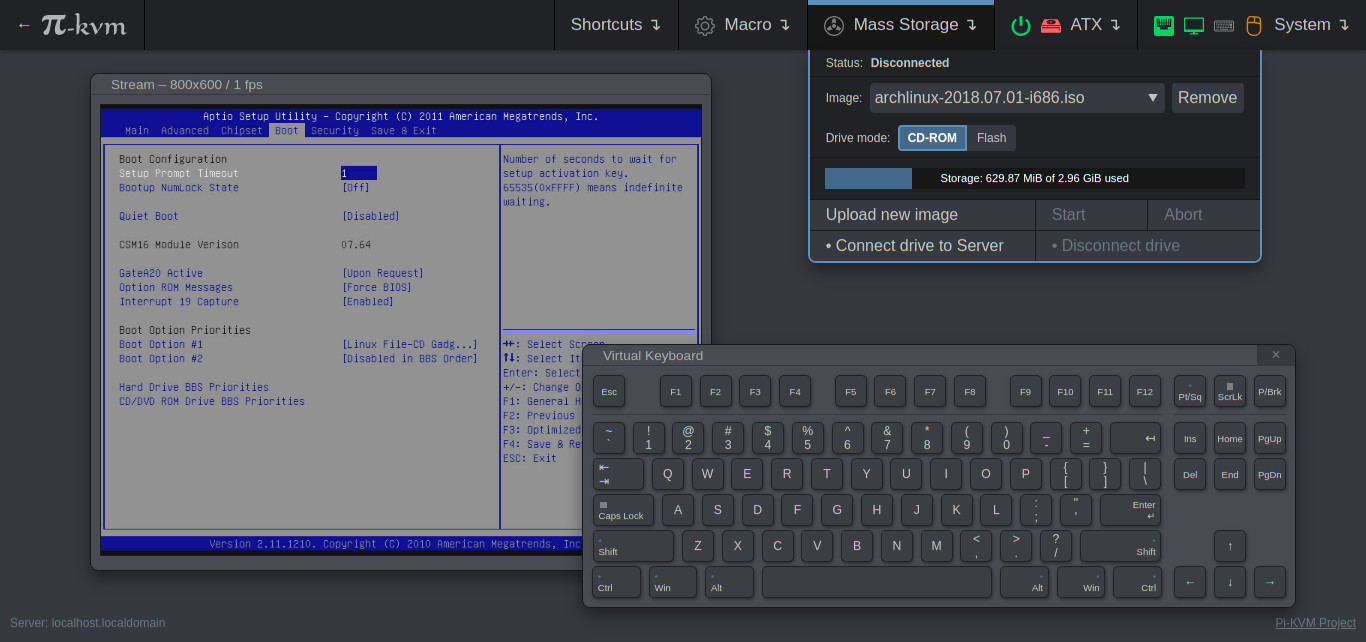
Access to BIOS
Another cool feature is that after reboot, you won’t lose display or keyboard access to your host. This allows you to change BIOS settings remotely, which is a very cool feature you can only see in servers (for example DELL IDRAC)
Simply reboot your machine and press the “BIOS button” (in my case F9) and you are in the bios!
From there you can for example mount some ISO disc with another feature of PI-KVM and use live CD of Linux or something to troubleshoot\repair OS
Update PI-KVM to latest version
You also want to keep up with latest features and bug fixes. To do that, you need to update the software. The pi-KVM is running on Arch linux (btw) so we are going to use Pac-Man package manager.
Type out following commands
1
2
3
4
5
6
7
#become a root (default password: "root")
su -
#set filestem to read&write
rw
#finally the update command for pacman
pacman -Syu
ro
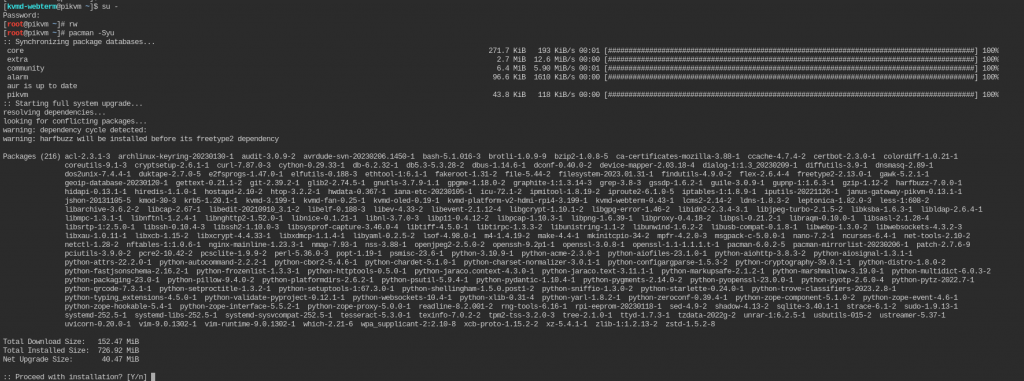
Accept with yes and reboot afterwords.
Connect to pi-KVM from anywhere with Netbird VPN
I’ve explained and done tutorials on Netbird VPN already, and I keep adding all of my devices to it, because it’s so easy, and I can connect for anything from public network over WireGuard.
In this case it’s even better because this is the whole purpose of pi-KVM to remotely connect to a device and control it!
How to
Because it’s an Arch system and Raspberry Pi with 32 bit system, it’s a little bit different to set it up this time.
List out all of the Netbird version and pick the latest one
Right click copy https link and use “wget” ( my PI has ARM so I’m going with that version and also 32bit so look for v6)
1
2
3
4
5
6
7
8
9
10
11
12
13
14
15
16
17
18
19
20
21
22
23
24
25
26
27
28
#read&write filesystem
rw
#download the image
wget https://github.com/netbirdio/netbird/releases/download/v0.13.0/netbird_0.13.0_linux_armv6.tar.gz
#Untar it
tar xzf netbird-ui-linux_0.13.0_linux_amd64.tar.gz
#Move it and rename it
mv netbird-ui /usr/bin/netbird
#Change ownership and permissions
chown root:root /usr/bin/netbird
chmod +x /usr/bin/netbird
#Add /usr/bin in your PATH environment variable
export PATH=$PATH:/usr/bin
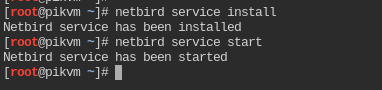
#Install and start the service
netbird service install
netbird service start
#Start the netbird
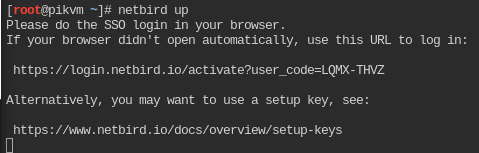
netbird up
#read-only filesystem
ro
And it’s done!
Now all you have to do is type the link from the terminal into your browser.
You should see new the device in your Netbird peer’s menu and you should be able to SSH into it and even your browser and all the pi-KVM feature! (From the device that is also added in netbird peers of course)
Tailscale alternative
From Tailscale documentation https://docs.pikvm.org/tailscale/
- Install the client, run “tailscaled service” and register it in the network:
1
2
3
4
5
[root@pikvm ~]# rw
[root@pikvm ~]# pacman -Syu
[root@pikvm ~]# pacman -S tailscale-pikvm
[root@pikvm ~]# systemctl enable --now tailscaled
[root@pikvm ~]# tailscale up
Follow the link to authorize this installation. You likely want to disable key expiry
- After authorization success, reboot to make sure that everything works correctly:
1
[root@pikvm ~]# reboot
Now, you can view the IP address of the Tailscale network interface:
1
[root@pikvm ~]# ip addr show tailscale0
If everything is successful, PiKVM will become a member of your VPN network.