Netbird VPN
What’s the Netbird?
Netbird VPN is a virtual private network service that allows users to securely and privately access the internet. A VPN, or virtual private network, is a service that encrypts a user’s internet connection and routes it through a remote server. This allows users to access the internet as if they were in a different location, and it also helps to protect their online privacy and security.
Here are some pros and cons of Netbird vs more common VPNs like WireGuard
Pros
- no-logs policy (secure and private communication)
- ACLs / device grouping
- Managing private DNS
- relay service
- user-friendly interface
- wide device compatibility
- WireGuard is a VPN protocol, not a full VPN service. It needs to be configured and run on a device, whereas a VPN service like Netbird can be used with a simple app
Cons
- WireGuard is faster and more lightweight
- no centralized server
How does it work
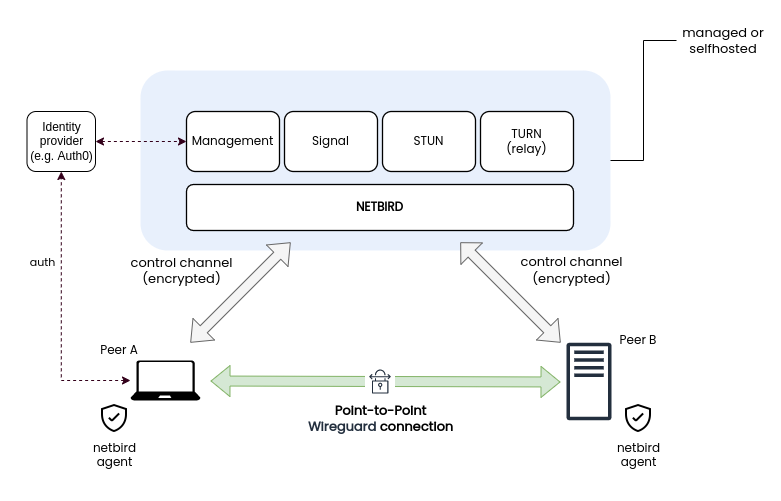
With the netbird you have to install the client on every node you want to connect with. The client will then generate the private key for that particular node (which never leaves the node) and sends the public key to the server (which can be self-hosted if you want to). After sending the public key to the server, the node receives the configuration file, which is then used for WireGuard configuration.
Agent always checks if there is the possibility of straight communication without going over the server. So in the case of a server failure, the only thing that is not working is adding the nodes to the topology, but communication between nodes is working regardless.
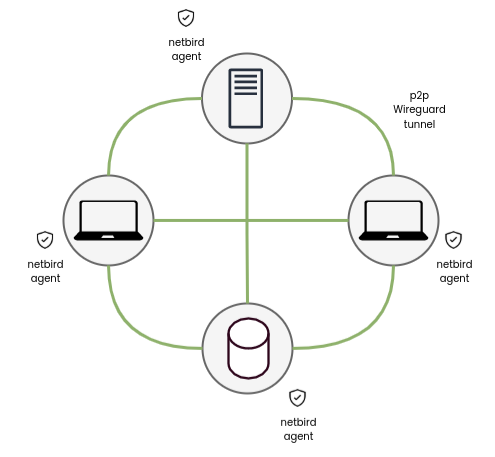
The default policy is that every node can communicate with every other node in the network, but you can use something called “Peer Groups” to change how they see each other in the network. I think it’s self-explanatory, but pretty much the nodes in the same group only see nodes in the same group and vice versa.
Another great benefit is that some nodes can be promoted to routers and can serve as DHCP server with some range of IP addresses for devices behind this node. Meaning it can NAT those devices over this one node that is connected on the Netbird network and all of those devices don’t have to be on the Netbird VPN.
How to connect your devices
First of all netbird has amazing documentation so, you can check their quick start guide first. But I’m gonna do some short version as well.
You can either go with self-hosted version or cloud hosted. I’ll do a tutorial on how to self-hosted Netbird in the future but for now let’s do cloud version you can try it out and see if it is something for you.
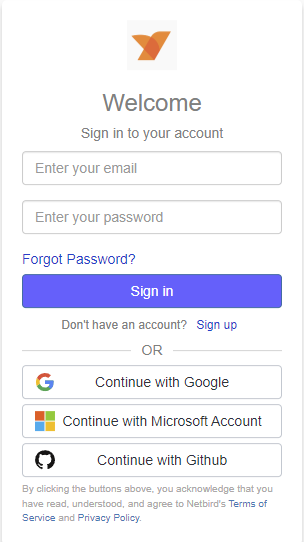
As a first step you need to sign in. You can even use google, Microsoft or Windows account.
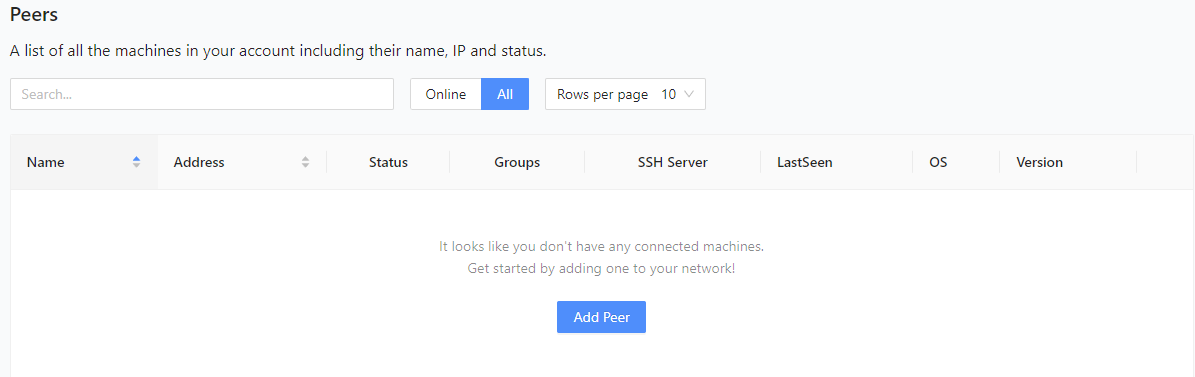
- After that you will see an empty field with Peers. Which is normal because we haven’t added one yet. To change that click “add peer”
- Now choose the platform of your device you want to add. I’ll show you both windows and Linux, because I think those are the most Commons ones.
Windows
The installation file will be downloaded and simply just run the program. And the installation screen file pop out. Just simply install it like any other software on windows and click “finish”.
Linux (Fedora 37 in my case)
Add the repository:
1
2
3
4
5
6
7
8
9
cat <<EOF | sudo tee /etc/yum.repos.d/wiretrustee.repo
[Wiretrustee]
name=Wiretrustee
baseurl=https://pkgs.wiretrustee.com/yum/
enabled=1
gpgcheck=0
gpgkey=https://pkgs.wiretrustee.com/yum/repodata/repomd.xml.key
repo_gpgcheck=1
EOF
- Install the package
1
2
3
4
#For CLI
dnf install netbird
# for GUI package
dnf install netbird-ui
And to run it use either GUI. But if you prefer CLI the command is
1
sudo netbird up
Browser management
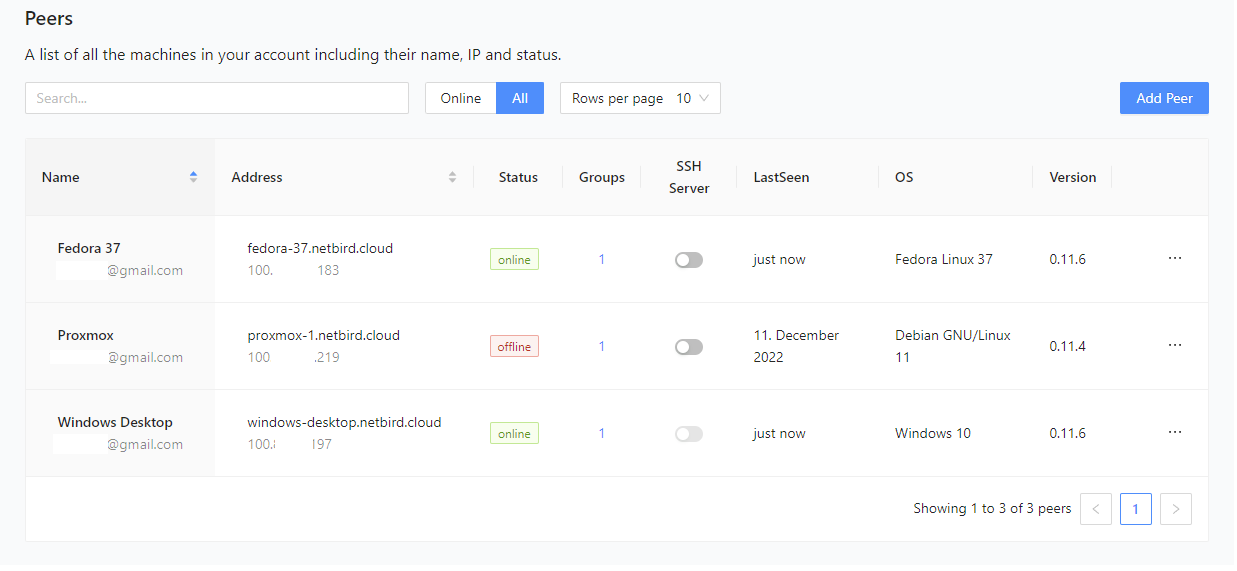
You should now be able to see all of your peers in the GUI of the web browser.
You should also be able to ping hosts between themselves, so let’s try it.
Go to one of your devices console and type
1
ping <other device IP>
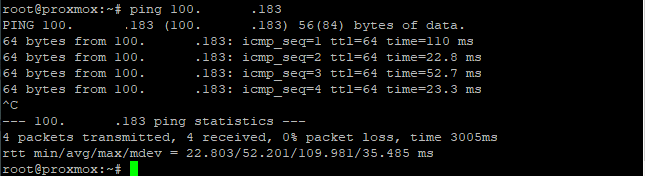
Congratulation you are good to go! With this, you should be able to see your devices from any public network. I use this for all of my devices, including this site, proxmox with all my VMs and my desktops.