Use terraform to deploy nginx on AWS EC2 instance
Introduction
If you are like me, and you are dipping your toes into the cloud world and using infrastructure as a code, I have a great short tutorial for you on how you can deploy nginx web server on Amazon AWS using Terraform.
What is cloud?
Cloud computing is the delivery of computing services—including servers, storage, databases, networking, software, analytics, and intelligence—over the Internet (“the cloud”).
Cloud computing offers several benefits
- Scalability (scaling up and down resources on the fly as you deem necessary)
- Agility (quick deploy of new services)
- Reliability (HA, disaster recovery..) …
The majority of the whole cloud is owned by few biggest players:
- AWS – Amazon Elastic Compute Cloud (EC2)
- Azure – Virtual Machines
- Google Cloud Platform – Compute Engine
AWS EC2
AWS is a cloud computing platform provided by Amazon. It offers a wide range of services, including storage, compute power, database, analytics, networking, application services, management tools, mobile development, and more.
Amazon EC2 is a cloud computing platform that can be auto-scaled to meet demand.
Different hardware and software configurations can be selected. Different geographical locations can be selected be closer to users, as well as providing redundancy in case of failures.
Step by step guide
AWS
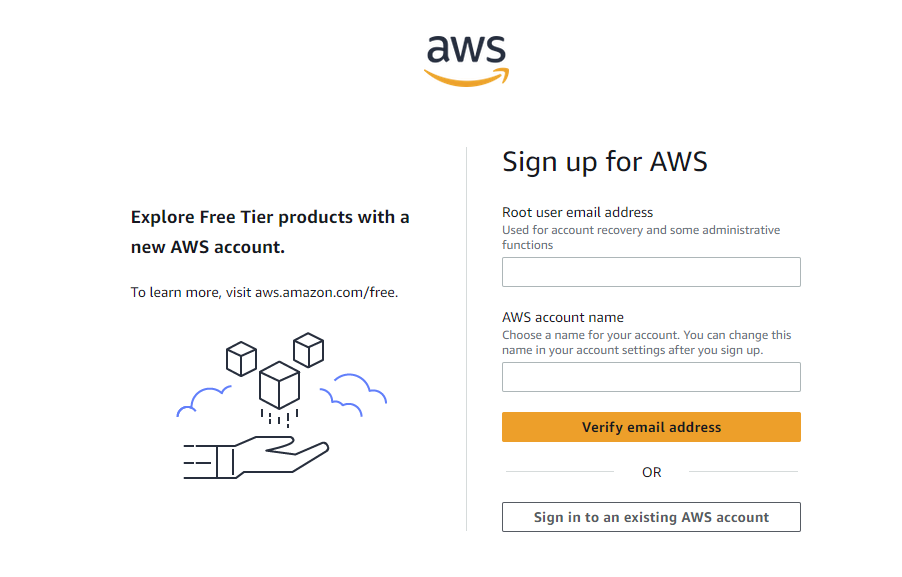
Create free AWS account
First we will need an Amazon AWS account. We can use their free tier. You can checkout all of their free tier features.
For registration click here or go to AWS amazon site.
Click on create free account.
Fill out the email address and AWS account name.
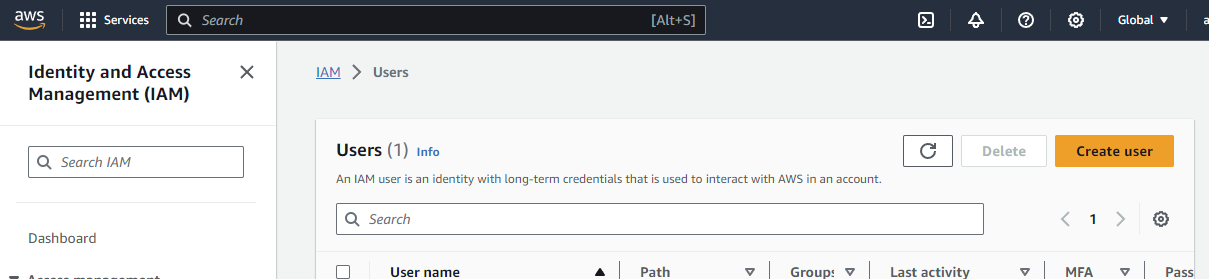
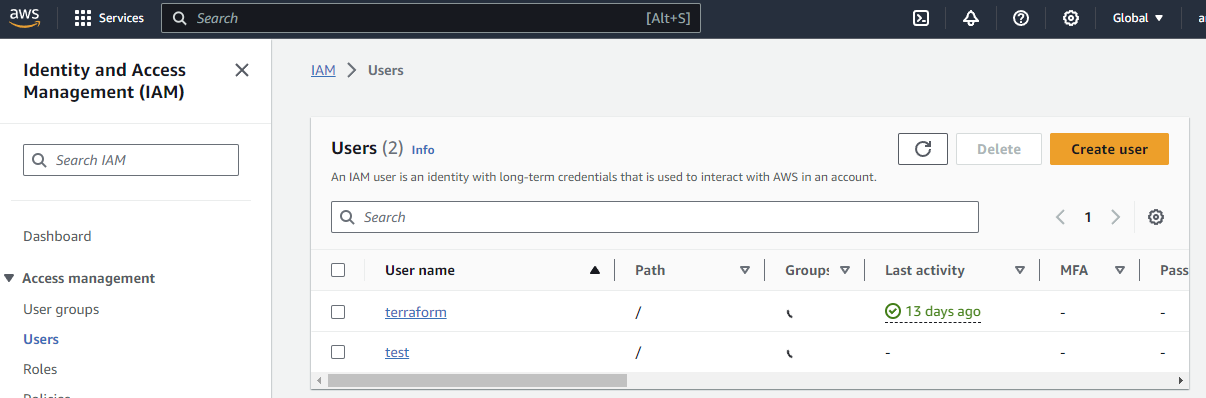
Create “IAM” USER
As a next step, we need to create a user, which we will use for authentication.
In the center search console, type: Users 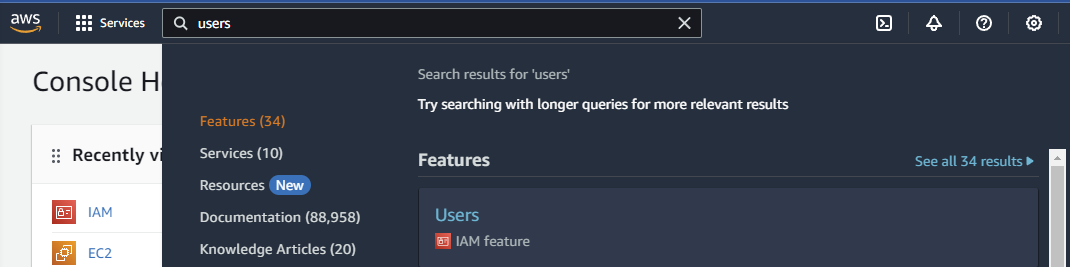
Click on it.
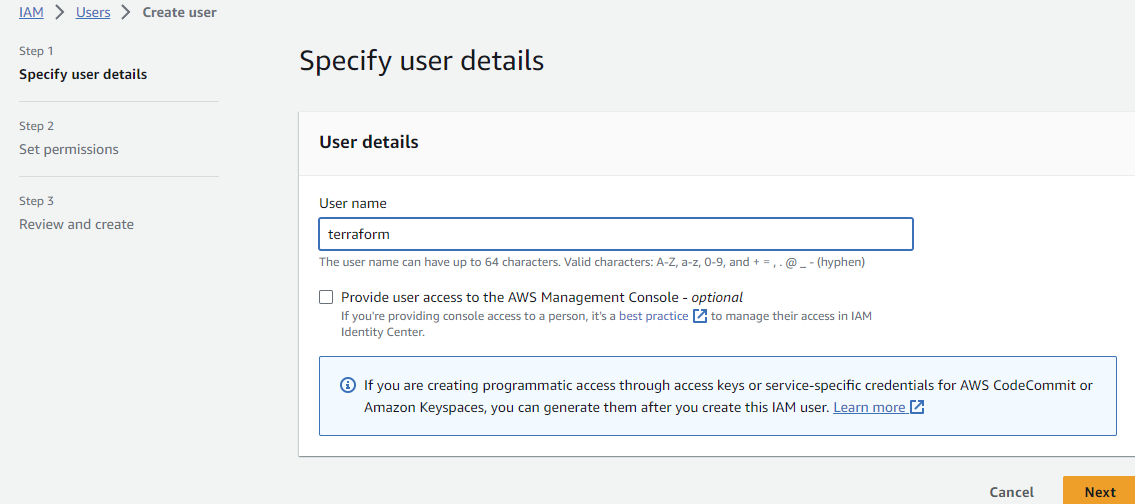
Next, click on the “Create user” button in the right top corner and type in the username for this account.
Mine is going to be: terraform (test on pictures)
Set permissions for the user
Now we need to set the right permissions for this user. Click on “Attach policies directly” and select “AdministratorAccess”.
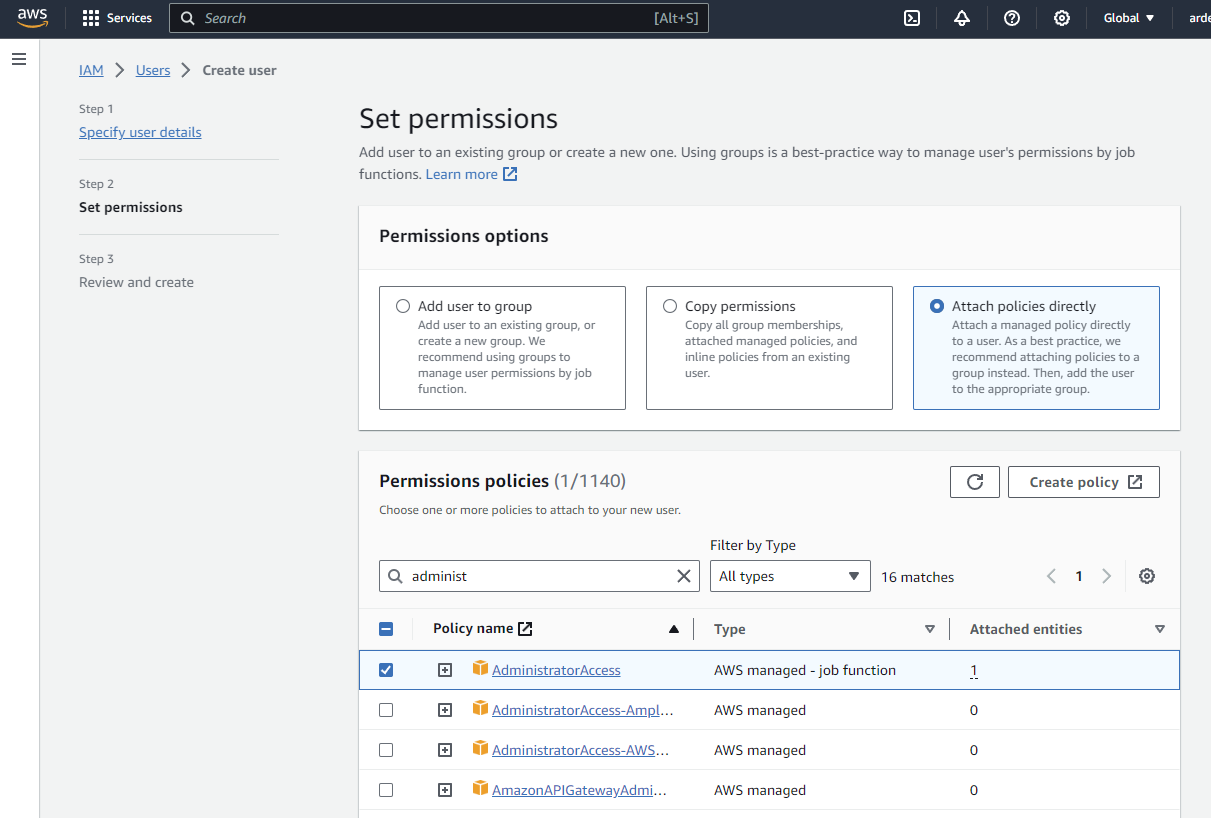
Click on Next. Review the changes and click on Create user.
Create an access key & secret for the user
After you’ve successfully created a user click on the user in Users menu.
Now click on “Create access key”. 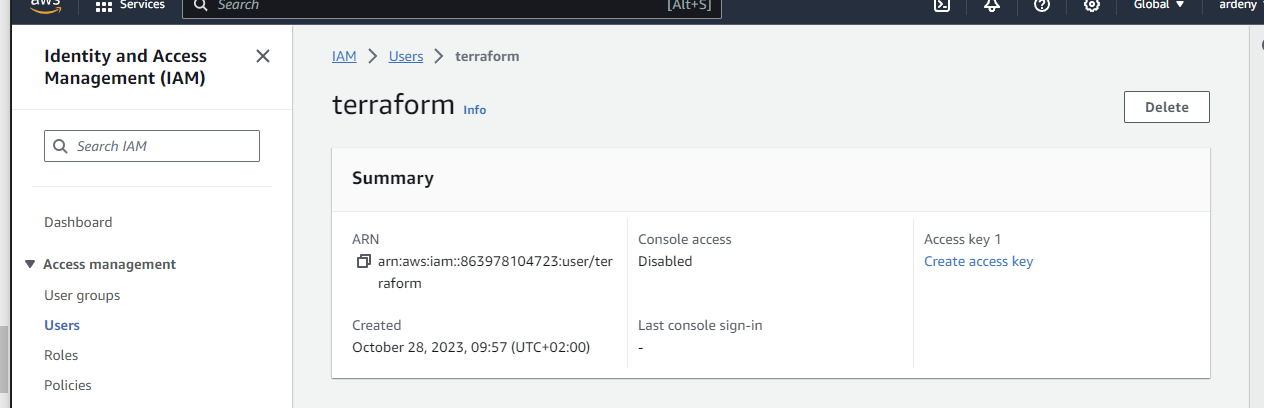
Select “Command Line Interface (CLI)” and go Next. 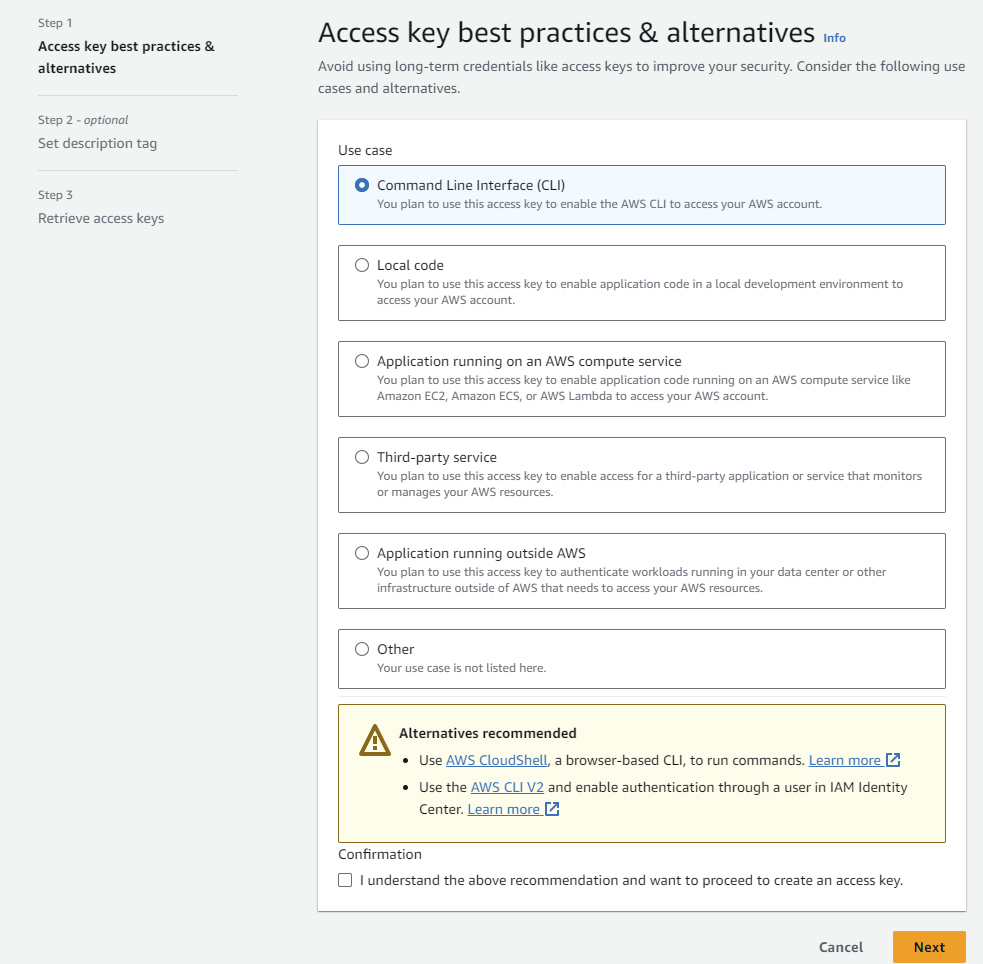
On the screen, you will see the access key and the secret.
Keys should look like this. (ps: I’ve already destroyed this pair so they wont work so don’t bother)
1
2
3
4
5
Access key
AKIA4SKI3U6JYTBZGSE5

Secret
S+4Q0cOMz71ACVzTcjvTAHTUeAN19q1HDz8Jzc7b
Save them somewhere, or download them as “.csv file”.
Create ssh key pair
To be able to access your EC2 instance over SSH, you have to create SSH key pair.
AWS is again making this very easy for us.
In the center console, type: Key pairs
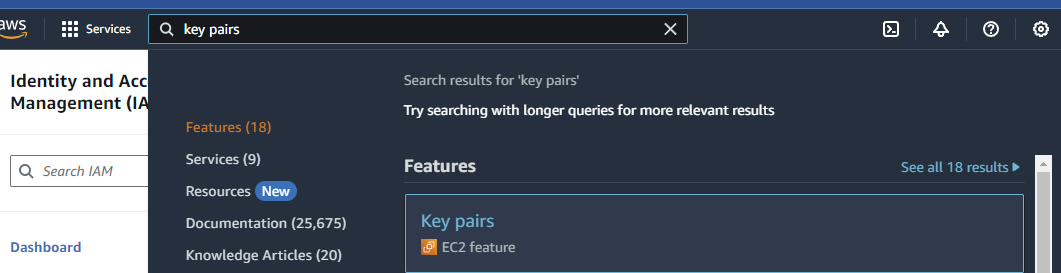
In the right top corner click on “Create key pair”.
Enter the name
I’m going to call my key pair “filipkey”.
Choose RSA type and “.pem format” and then click on “Create key pair”.
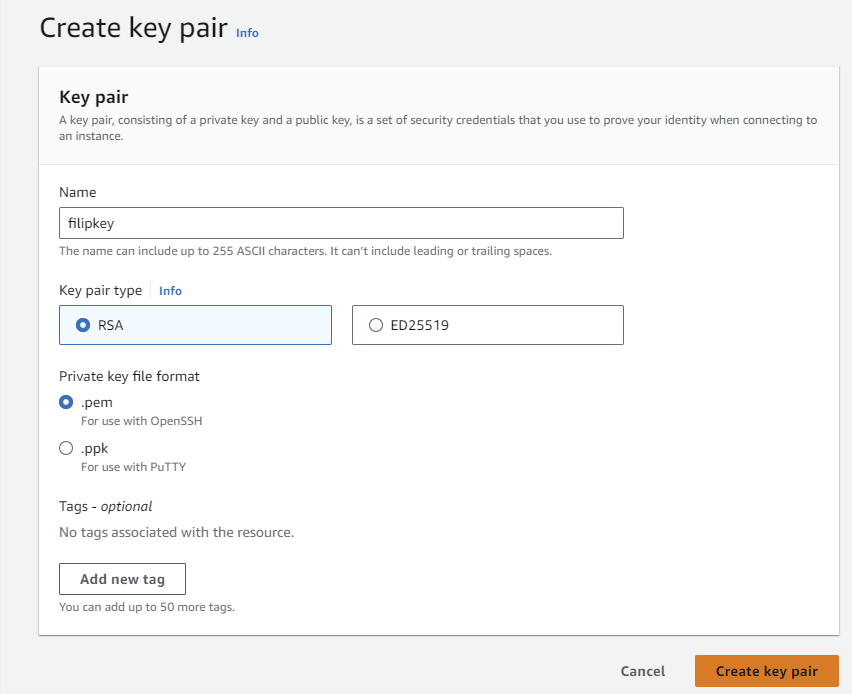
Download the key, we are going to use it later.
Install AWS CLI
All of these GUI processes can be done over CLI as well. Amazon AWS provides very easy to install tool called “aws cli” (very surprising).
You can find it on their website or just click here
Choose your platform, download the tool and install it.
When you are done, check if the tool functions properly with
1
aws help
Connect AWS CLI with our AWS amazon account
In the console of your choice, type
1
aws configure
You will be prompted to type:
- AWS Access Key ID
- AWS Secret Access Key
- Default region name: (I’m going to use us-east-1)
- Default output format: Leave empty
It’s very important to have correctly configured default region name or terraform wont work correctly.
You can find and change all of these settings in (on MAC and linux).
1
 ~/.aws/
Terraform
Install terraform
Depending on your platform, there are going to be different ways to do it. Because I’m using MAC I’ll show you the MAC way, but the linux is going to be almost the same.
Follow the instructions on their site
tldr for MAC
1
2
 brew tap hashicorp/tap
 brew install hashicorp/tap/terraform
Create an EC2 instance
Now when we have all the tools we need, we can start the actual configuration.
I’ll try to explain the code without the comments, so config files will stay clean.
Create working dir
1
mkdir -p /opt/terraform
Copy the ssh key to our working dir
1
cp ~/Downloads/filipkey.pem /opt/terraform
Create terraform config files
1
touch terraform.tf main.tf outputs.tf userdata.tpl
Provider
1
vim provider.tf
In this file we will define something called “provider”. In our case, AWS provider.
A provider in Terraform is a plugin that enables interaction with an API. In this case API of AWS.
1
2
3
4
5
6
7
8
9
terraform {
    required_providers {
        aws = {
            source = "hashicorp/aws"
            version = "~> 5.23.1"
        }
    }
    required_version = ">=1.6.2"
}
Main
1
vim pmain.tf
Dont forget to change access key & secret to your values.
Code explanation:
provider “aws” We define region and access credentials.
data “aws_ami” “debian” Shortcut for Amazon Machine Image is supported image that we can choose from their list. In our case we use string “debian12-amd64-daily*” to find list of all debian 12 daily images and choose the newest daily one is chosen automatically.
You can also look list them with aws cli
1
aws ec2 describe-images --filters "Name=name,Values=debian-12-amd64-daily*"
module “ec2_instances” We use this module to define, our instance. For example type, number of instances to deploy. What SSH key to use etc…
resource “aws_default_vpc” “default” If we don’t define anything, all necessary values stay default. That’s why we call it default.
You can check all default VPC values here
- resource “aws_security_group” Ingress & egress rules. By default allow all. In our case, we allow SSH with opening port 22 and http traffic by opening port 80.
1
2
3
4
5
6
7
8
9
10
11
12
13
14
15
16
17
18
19
20
21
22
23
24
25
26
27
28
29
30
31
32
33
34
35
36
37
38
39
40
41
42
43
44
45
46
47
48
49
50
51
52
53
54
55
56
57
58
59
60
61
62
63
64
65
66
67
68
69
70
71
72
73
74
75
76
77
78
79
provider "aws" {
    region = "us-east-1"
    access_key = "AKIA4SKI3U6JYTBZGSE5"
    secret_key = "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"
}


data "aws_ami" "debian" {
    most_recent = true


    filter {
        name = "name"
        values = ["debian-12-amd64-daily*"]
    }


    owners = ["903794441882"]
}


module "ec2_instances" {
    source = "terraform-aws-modules/ec2-instance/aws"
    version = "5.5.0"
    count = 1


    name = "ec2-nginx-demo"


    ami = data.aws_ami.debian.id
    instance_type = "t2.micro"
    vpc_security_group_ids = [aws_security_group.nginx_demo.id]
    key_name = "filipkey"
    user_data = file("userdata.tpl")


    tags = {
        Name = "NginxDemo"
    }
}


resource "aws_default_vpc" "default" {


}


resource "aws_security_group" "nginx_demo" {
    name = "nginx_demo"
    description = "SSH on port 22 and HTTP on port 80"
    vpc_id = aws_default_vpc.default.id


    ingress {
        from_port = 22
        to_port = 22
        protocol = "tcp"
        cidr_blocks = ["0.0.0.0/0"]
    }


    ingress {
        from_port = 80
        to_port = 80
        protocol = "tcp"
        cidr_blocks = ["0.0.0.0/0"]
    }


    egress {
        from_port        = 0
        to_port          = 0
        protocol         = "-1"
        cidr_blocks      = ["0.0.0.0/0"]
    }
}
Outputs
1
vim outputs.tf
- output “ec2_instance_public_ips” Here we define that after the terraform run the public IP provided, by the AWS is echoed on the screen.
1
2
3
4
output "ec2_instance_public_ips" {
  description = "Public IP addresses of EC2 instances"
  value       = module.ec2_instances[*].public_ip
}
“Userdata”
1
vim userdata.tpl
In this file, we define, all of the commands, that is going to run on the instance after the main deployment.
In our case install nginx service and create a simple site saying “Hello Nginx Demo”.
1
2
3
4
#!/bin/bash
sudo apt update -y &&
sudo apt install -y nginx
echo "Hello Nginx Demo" > /var/www/html/index.html
Run terraform upgrade & validate & plan & apply
The terraform init command initializes a working directory containing Terraform configuration files. This is the first command that should be run after writing a new Terraform configuration or cloning an existing one from version control.
1
terraform init -upgrade
The validate command in Terraform is used to verify the correctness of Terraform configuration files. It checks the syntax of the Terraform files, ensures the correct usage of attributes and values, and validates the configuration based on the core syntax of Terraform.
1
2
3
4
terraform validate
```

The terraform plan command creates an execution plan, which lets you preview the changes that Terraform plans to make to your infrastructure.
terraform plan
1
2
And finally, apply the pending changes.
terraform apply -auto-approve
Validate the deploy
Output
After a few seconds, you should see the IP address in terminal output, that we defined in our “output.tf” file.
It should look like this.
1
2
3
4
5
Outputs:

ec2_instance_public_ips = [
  "18.234.230.195",
]
AWS Instances
Another way to check, if our instance is running is to open AWS website and in the center console type “Instances”.
You should see your new instance state.

SSH
After a few minutes you should be able to SSH into your EC2 instance with the key pair we have created and configured.
Change the IP and key name according to your values. In our case the SSH user is “debian” (if you didnt change it in your terraform main.tf file) .
1
 ssh -i "filipkey.pem" debian@18.234.230.19
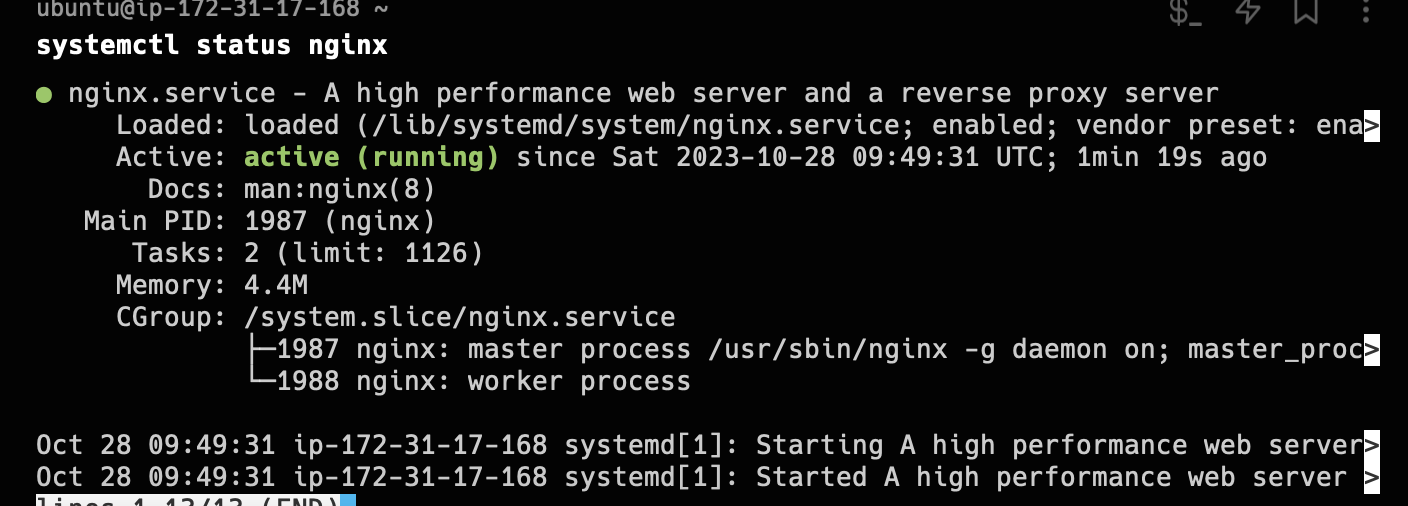
When you’ve successfully SSH into the VM, you can check the Nginx service status.
1
systemctl status nginx
Browser check
And finally, the main check is the “browser check” or rather http traffic test. After all we’ve deployed web server so what’s the better way.
Type in the IP address you got from the output, and paste it into your web browser.
You should see our message.

Delete the EC2 instance
When you are done, you can delete the EC2 instance with following command.
1
terraform destroy -auto-approve